©2009
The Gameboy camera - What can an artist do with a kid's toy?
Page 1: the camera and Gameboys reviewed
Page 2: scans from different Gameboys compared
Page 3: Gameboy operating instructions
Page 4: how to make a scan
Page 5: some experiments
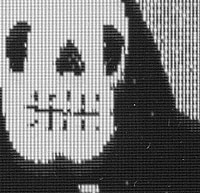
All photos on this page are the same image. The same camera was put into three different gameboys to scan. All images were straightened, cropped, levels were applied by moving the diamond on the histogram to remove all flat areas. I used smart sharpen at 100%. All images were resized and saved for the web. Additional sharpening was done to all the details. Further stuff done in Photoshop, if any, is noted below the image.
If I had more Photoshop skills, this might not be such an issue. I find when I need to use the Brightness/Contrast controls to increase the light areas, the black areas can get grey and look mushy.
Note the shadowy area under the chin on the details from the Gameboy Advance SP.
Check out page 5 for some experiments I have done, including turning off the dithering.
previous 1 | 2 | 3 | 4 | 5 next
All text and images ©Judith Hoffman 2009
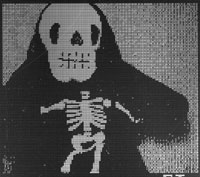
fig. 1. Scan from Gameboy Color.
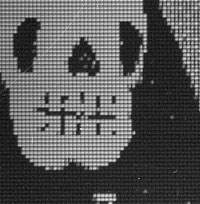
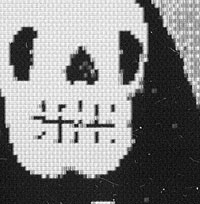
detail fig. 1.
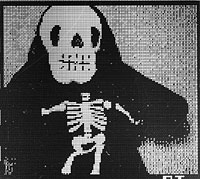
fig. 2. Scan from Gameboy Color with additional brightness/contrast.
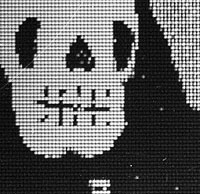
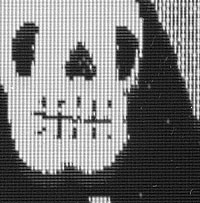
detail fig. 2.
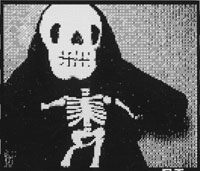
fig. 3. Scan from the Gameboy Advance.
detail fig. 3.
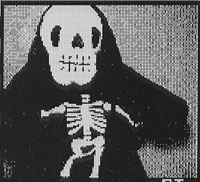
fig. 4. Scan from Gameboy Advance SP with screen light on.
detail fig. 4.
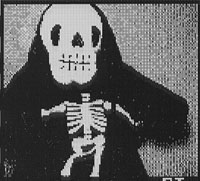
fig. 5. Scan from Gameboy Advance SP with screen light off.
detail fig. 5.