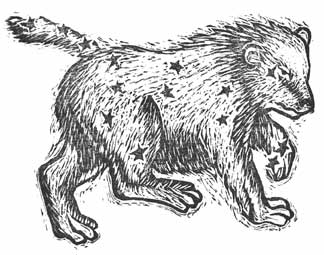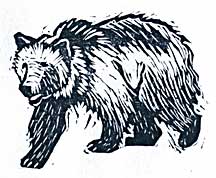
I am working on a book and needed a bear, so I carved the one above. He was traced from a photo with a 2B pencil and transfered directly to the carving block. I like the stray marks a lot in this one.
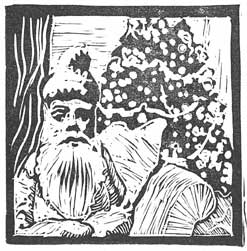
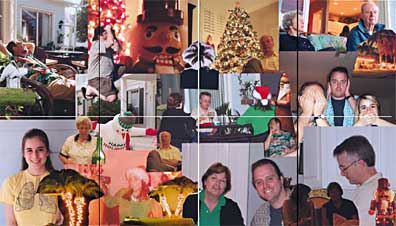
I keep fussing over this, probably because it is from a favorite photo, taken by my son two years ago at a family Christmas. The arm is terrible, so I started another.
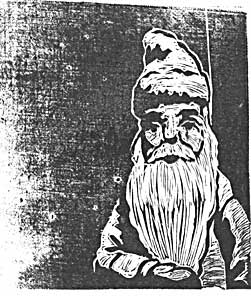
I thought I would like the composition better reversed. But now the elf is too large, the nose bothers me, the hand needs work (that may be fixable). I like the squareness and the position of the elf in the first try. I am tempted to start over again to make it "right." At the moment I'm thinking I should leave it for awhile. I used a big block of Staedtler carving material for all the stuff above. Everything is shown actual size.
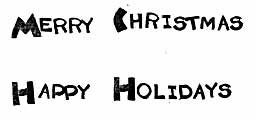
These are very old, I like them much more now than I used to. In fact, I like them better today than yesterday. The larger letters were carved from some old green erasers and the smaller ones are on pencil erasers. So far the pencil erasers are holding up okay, but the green eraser material is getting brittle. I have numbers, but need more punctuation.
What have I learned? In no particular order:
1. The image will be reversed.
2. Start with the hard part (faces for me).
3. Turn the block to cut a curve.
4. Keep photo references nearby. I didn't know I was carving an arm and a mitten on the Christmas elf, it came out looking very awkward.
5. Start with a slightly larger block than the finished stamp. It's hard to carve the very edge neatly, it's better to trim away the edge when you're done.
6. Go slow, make lots of test prints along the way. You can't replace what has been removed.
7. Use an old, faded ink pad that doesn't cover the pencil lines. Or you can buy pads made for testing.
8. I like the stray marks, and am trying to use them to good advantage.
9. One option is to carve like you draw. Look at lots of drawings, study how shadows are indicated. If you would shade an arm with "bracelet shading," carve in the same way.
10. Photoshop Elements (and I assume Photoshop) has a nice "stamp" filter, it's under "sketch." It usually needs some adjustments. If you like the face better on one setting and the rest on another, you can layer them and erase the "bad" face to combine the two.
11. Also try tracing the image with a soft pencil. This is sometimes better than the "stamp" command. Lay the tracing on your block and rub with a bone folder or spoon to transfer the pencil lines to the block.
12. Or draw directly on the block.
13. Don't carve away both sides of a corner - it will have no support. A border might help here. Or change the design.
14. I couldn't get my laser prints to transfer with acetone, citrasolve or ironing. I'm no good at these kinds of transfers anyway. See #11.
15. If you heat the Staedtler carving block too much it will change texture and become harder to carve. It's probably also very unhealthy.
16. Simple is best - I don't always take my own good advice.
There are several photo pools on flickr with lots of carved images:
Carve Your StampsStamp Your Art OutBlock PrintsStampeaz has soft block and linoleum carving supplies. Wonderful, helpful people, fast delivery.
Labels: Eraser Carving
