Monday, December 14, 2009

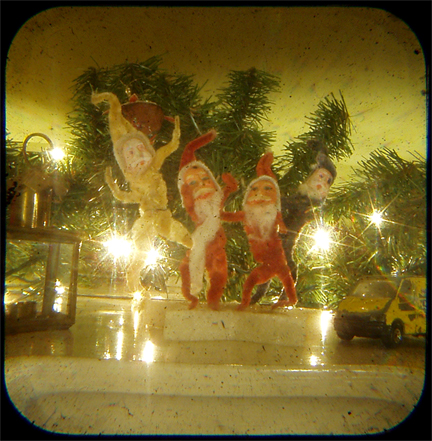
From the Christmas Gnomes


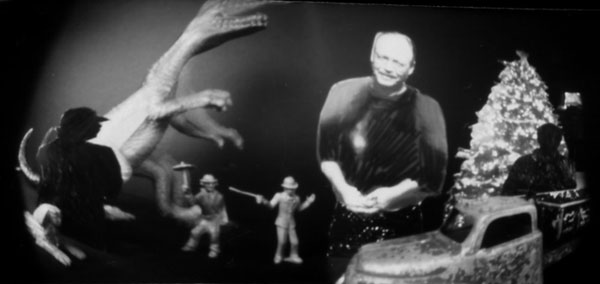
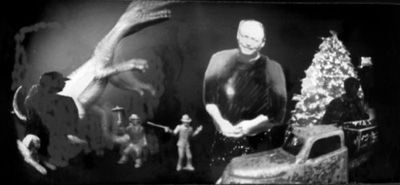
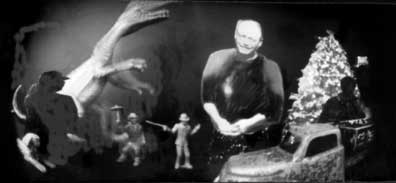
Christmas gnomes ttv photo. There are a few more in my flickr ttv set. If you like ttv check out the flickr group. However you celebrate the holidays, remember to enjoy the people you love, and who love you.

Labels:

Thursday, November 05, 2009

Book Arts Jam 2009


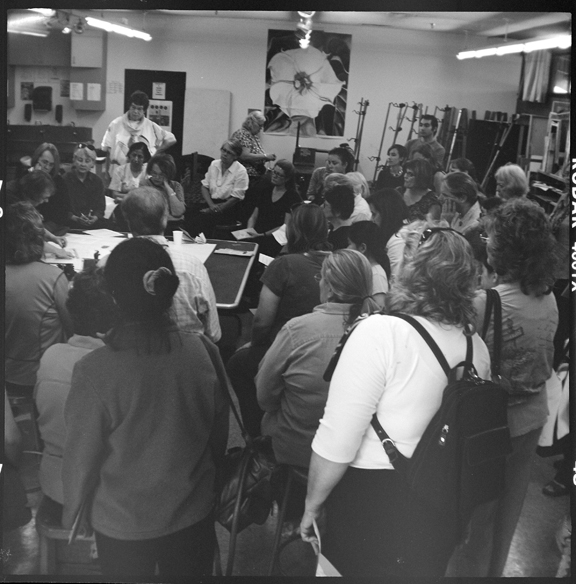
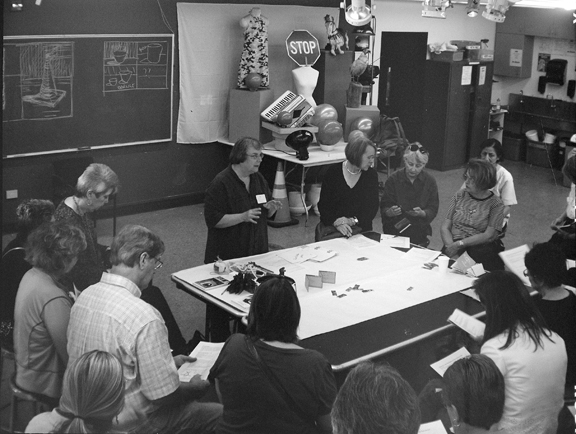
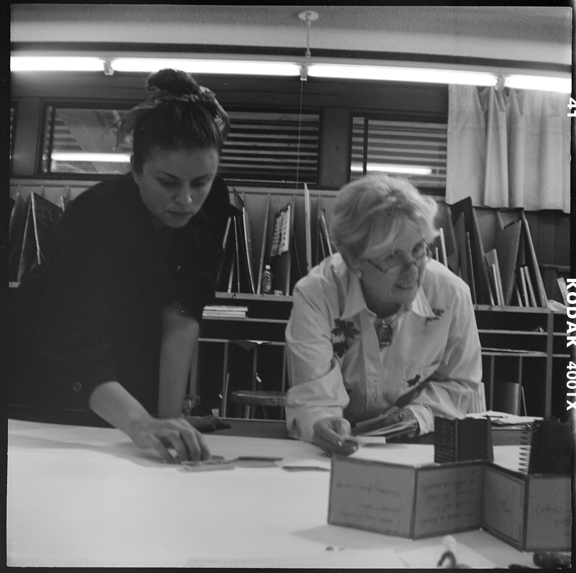
A few photos of my "Simple Wire Edge Binding" demo for the Book Arts Jam. Taken with a Brownie Hawkeye camera. It was also World Toy Camera Day.


Jim stood on a table to take the first two shots. The film is Tri-X, respooled onto 620 spools. Processed in D-76 in my garage.


Before the demo - looking at the samples.

Labels: ,

Thursday, September 03, 2009

A box, a hole, some photo paper - Magic!


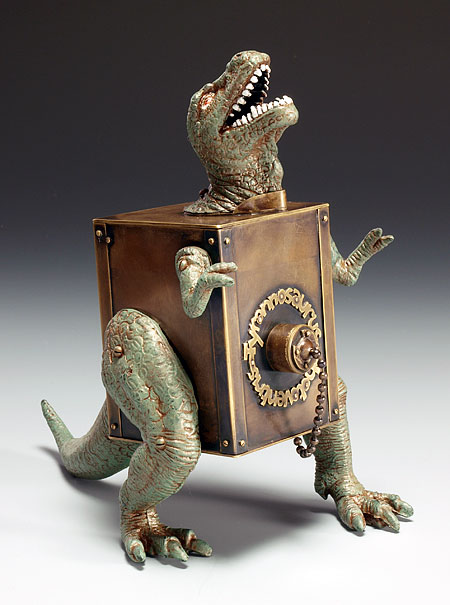
Tyrannosaurus photoventris, ©2009, 7 x 4 x 6.5 inches. That's a lens cap/shutter on his navel. He takes pinhole photos of the late Cretaceous using paper negatives.

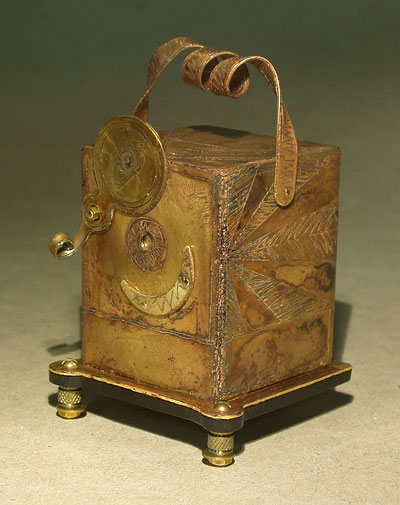
My two brass pinhole cameras, some of my old snapshot camera collection, my funky pinhole cameras and one of my father's cameras will be shown in the collections room of the Peninsula Art Museum until November 22nd. You can also see photos from some of the cameras. The funky pinhole and snapshot cameras are the inspiration for my brass pinhole cameras. My childhood memories of my dad's darkroom are the beginnings of my interest in photography.


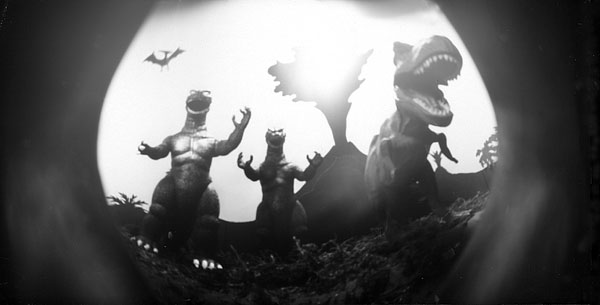
A photo of the late Cretaceous, taken by Tyrannosaurus photoventris. This photo is groundbreaking in many ways. It is, of course, one of the first photos of the late Cretaceous. And it also reveals a surprising first sighting of Godzilla!


The Memorycam is the first pinhole camera I made. It uses photo paper as film and takes photos of memories.


Memory 436, taken by Memory cam.


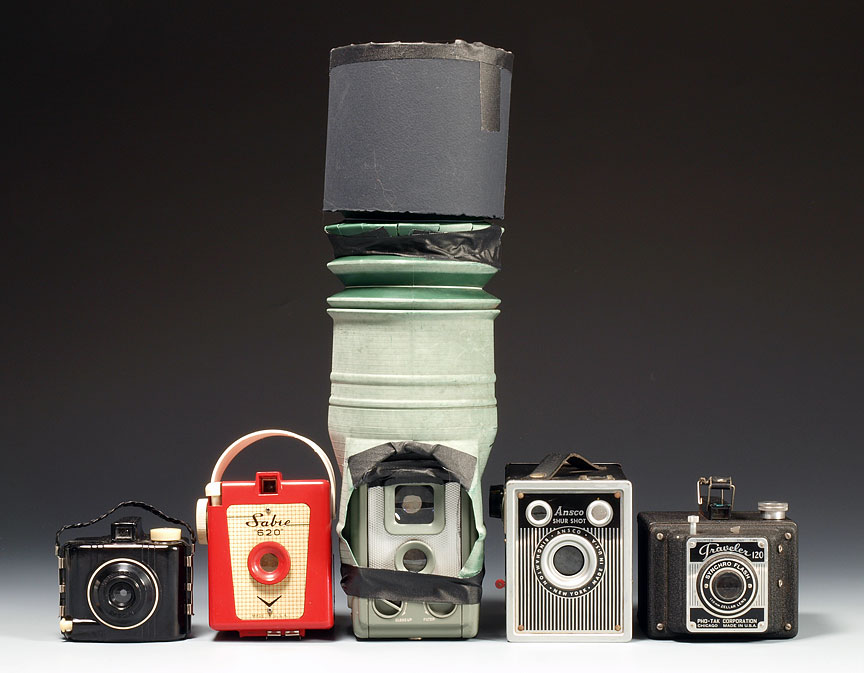
A few of my snap shot cameras and one of my ttv contraptions. From left to right: Baby Brownie, Sabre 620, an Anscoflex with a gutter pipe contraption, Ansco Shur Shot, Traveler 120.


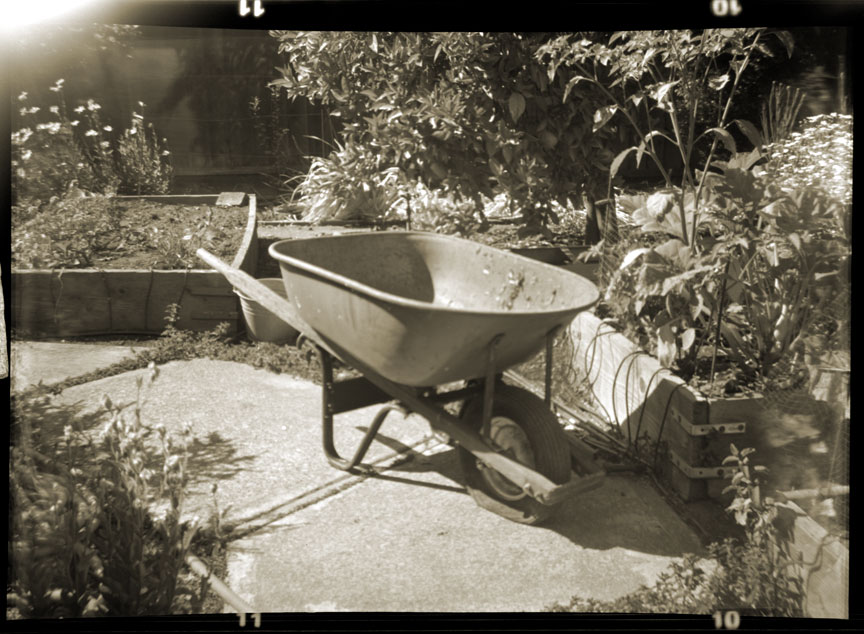
A photo from the Traveler 120. When I get a new camera I put film in it and rush out into our garden to try it out. This was also an experiment in creating sepia toning in Photoshop. I develop the black and white film myself, then scan it into my computer.

The show is up now, and runs through November 22nd, 2009. The opening is September 13, from 1 to 4. You may know this museum as Twin Pines. It is located at 10 Twin Pines Lane, Belmont, California 94002. Hours are Wednesday-Friday 12 - 4, Saturday, Sunday, 1 - 4.

Labels: , ,

Friday, March 27, 2009

Another take on Spirits under glass


Recently we went to the de young museum to enjoy the ethnographic collection. Jim is particularly a fan of the New Guinea works. I have come to appreciate them more and more by seeing them through his eyes. I took my Gameboy camera, and he took our "big" digital camera. Photography is allowed, but no flash or tripods.
My de Young flickr photoset is here.

Jim wrote a very thoughtful blog entry about the visit. An excerpt:

"Encased in the sleekly modern architecture of the museum we see organic figurines, made of wood, clay, stone, or feathers, once living spiritual objects, extracted from dying cultures, forever frozen in action in their vitrines."

Labels:

Thursday, March 19, 2009

Worldwide Pinhole Photography Day

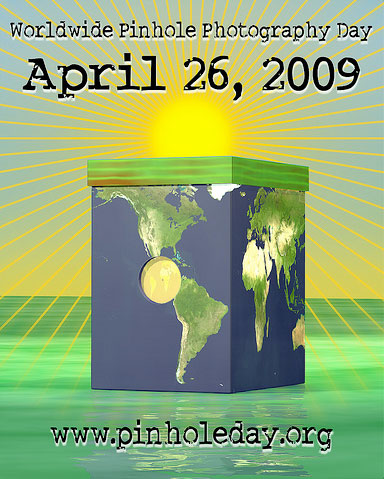
World Wide Pinhole Photography Day is on April 26th this year. This poster will be available on the website for download.
Now is the time to make sure you have your gear together. And it doesn't have to be a film image, you could make a solargraph. There are lots of links on the WPPD site under "resources." A few more links:
Solargraphy on Flickr
Diego Lopez Calvin's beautiful solargraphs.


Memory 436 - the image I submitted to WPPD two years ago. It was made in my MemoryCam. I used a paper negative which was developed and scanned into my computer. It's semi-digital.

Labels:

Wednesday, March 04, 2009

Am I a Gamer?

Synasthesia, (check out his photo set Abandoned Haven) on flickr, asked me "I am curious how you came about your decision to experiment with your GBC (Gameboy camera). Are you a gamer?"


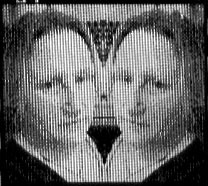
Two Jennifers, taken in 1999, probably scanned from the Gameboy Color.

I am a gamer, sort of. My gaming experience goes back to Pacman on my son's computer. When I tried my nephew's Tetris on the old grey brick Gameboy, I was hooked on the Nintendo. I was happy with Tetris for years. Then I got hooked on the Zelda games. I do have a few other games, but don't play them much. There are times when complete absorption in solving puzzles is a nice distraction from the stress of life. I also like to read, knit or watch movies in the evening, so I don't think of myself as a hardcore gamer.


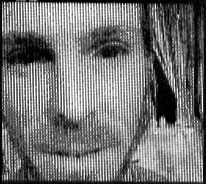
Jeffrey, taken in 1999, probably scanned from the Gameboy Color.

About 9 years ago I bought my first gameboy camera on ebay. They seemed expensive when they first came out, so I was pleased to find a used one. I took some photos and scanned them into my computer, but then did nothing with them. Recently I was asked to participate in an online exhibit of downloadable, assemble-it-yourself artist's books. I have been experimenting with ttv and pinhole photography, so the Gameboy seemed like a good camera to use to make a quick trial book. (The exhibit will be going online soon, I'll announce it here.)


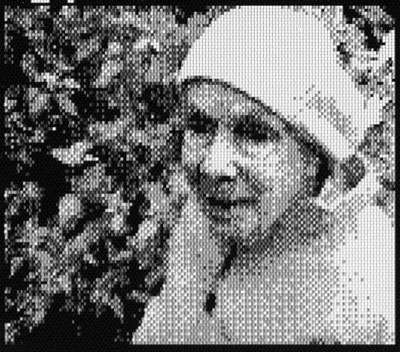
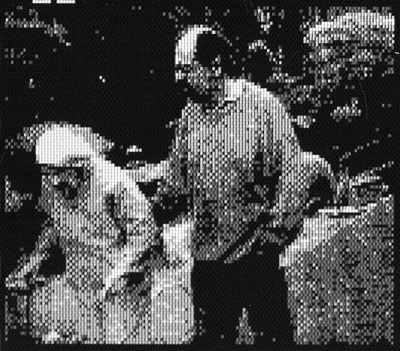
Florence - my 92 year old mother-in-law.

The simplicity of the Gameboy photos make me focus on the big picture (pun intended - the Gameboy picture is tiny on the screen) and details are not relevant. I find it all freeing in some way. It's a camera I carry around to take quick snapshots. They doesn't have to be straight or perfect. It's a moment in my life. Sometimes it's a moment of thinking "those old chairs are actually appealing in a rustic way." Or "that ladder looks beautiful in the sun." Or that moment of tenderness you sometimes feel when you look at people you love.


Jim and Florence

Labels:

Thursday, February 26, 2009

Gameboy Camera Tutorial


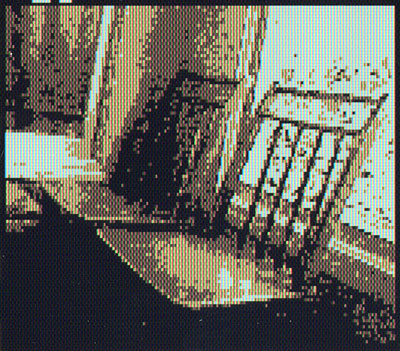
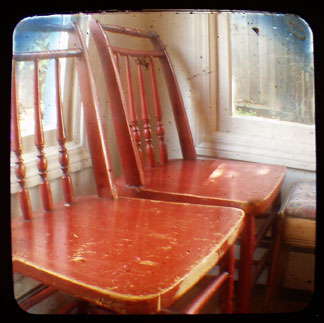
Two chairs, taken with Japanese version of Gameboy camera.

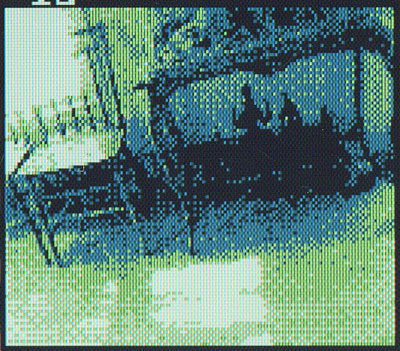
I put a five page Gameboy camera tutorial on my website. Since then I have discovered the Japanese version of the camera. As you can see above, the images are four shades of brownish orange, not the green and blue of the American version below.


The sun creeping across the floor.


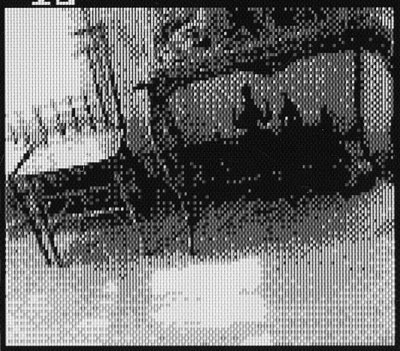
Same image in greyscale.

Labels:

Saturday, November 29, 2008

A walk in Central Park with my gameboy camera


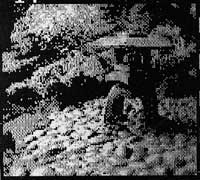
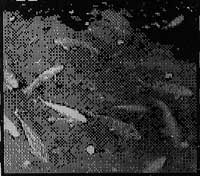
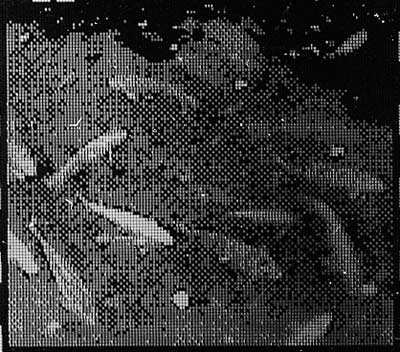
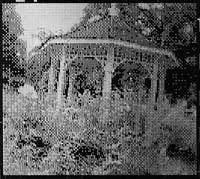
Gameboy camera photos from a walk in the park on Thursday. The actual screen is 1.75 inches square. Except for the large koi, these are 200 pixels wide, about 2 inches. The camera has adjustments for brightness and contrast, and will store 30 photos. I import them into my computer by putting the gameboy on my scanner, then I increase the contrast and brightness in Photoshop.

I think these have a lot of potential for use in artist's books. You can see them larger in my flickr gameboy camera set. Of course there is a gameboy camera group on flickr.


Koi.


Koi, 400 pixels wide.


Reflections in water.


Rose garden.


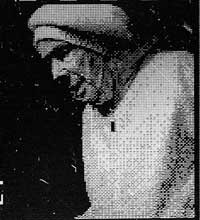
Portraits do work, sometimes. Anything complicated just doesn't register on these few pixels.


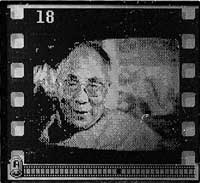
And the Dalai Lama, from a t.v. program. This also shows the entire Gameboy screen.

Labels:

Saturday, March 29, 2008

Quiet Parlor of the Fishes TTV


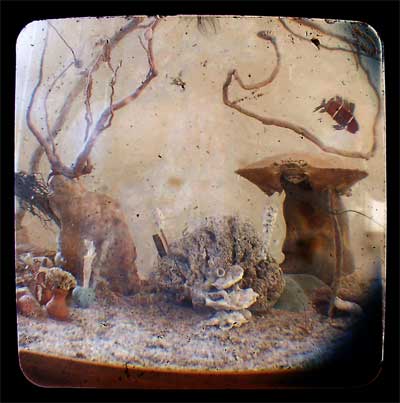
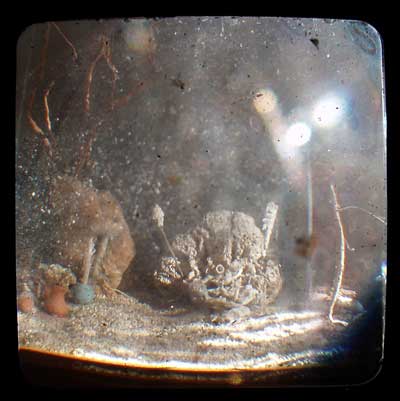
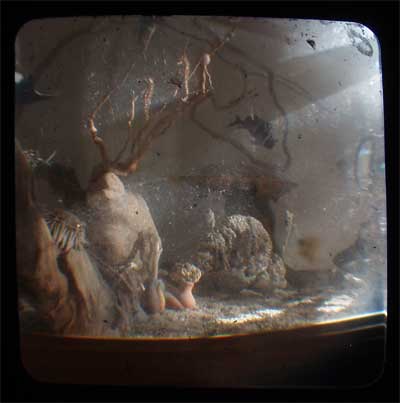
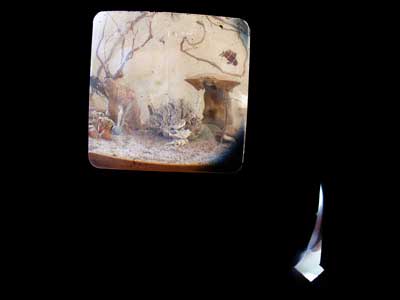
These are through-the-viewfinder photos of The Quiet Parlor of the Fishes, in the Zymoglyphic Museum. I think as photos they are "okay," but the subject matter and the atmosphere help make them interesting.


This one benefits from both dust on the viewfinder of the Kodak Duaflex and dust on the terrarium itself. It's flaw is that the most interesting part is almost dead center. I took these quickly, as the sun was streaming in. I didn't really try to frame a good composition.


A well framed photo isn't necessarily the best one to use in a collage. This one looks too dark and mysterious to me, although I love the shadow streak across the glass. It also looks much better larger. When I was using film, my favorite photos for collage were the ones I didn't get charged for. They were blurry, streaked, or cut off by the end of the film. I do think these have some potential, I'll get them printed and leave them on my worktable.

This flickr set has more ttv photos and some shots of my set-up.
Through the Viewfinder group on Flickr. You'll see some really great photos, by expert photographers here.

Labels:

Tuesday, March 11, 2008

TTV Details


Here is an uncropped, straight from my camera, through-the-viewfinder photo. You can see where light leaks through between the camera body and the chimney. When I took this photo I hadn't made the little ring that keeps my camera level, so I need to both straighten the image above and crop a lot.


Since taking this photo I put a little ring on the top of my chimney to hold my camera level. This seems to help with both the framing and focusing. I can set my camera in the chimney now, and use the remote to take the photo in low light situations.

Here's an earlier post that has photos of my cameras and the chimney.

I'm using a Kodak duaflex camera, with lots of nice dust in it. My digital camera is an Olympus C-60 Zoom. It's not a fancy or super-expensive camera. I think I'm getting a large enough image to have it printed as a 4 x 6 inch image, or slightly larger. My cropped photos are about 1200 x 1200 pixels. I intend to use these for collage, so I will probably sand them a little, or distress the surface somehow. I'm not greatly worried about photo quality.

My first ttv photos and my set-up are in this flickr set.

Labels:

Saturday, February 23, 2008

TTV photography

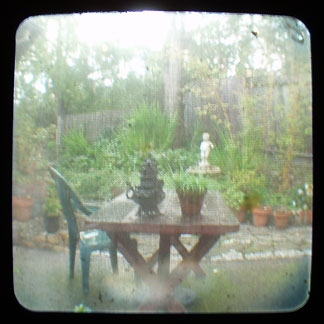
One of my first ttv photos. Ttv stands for through the viewfinder photography, my new distraction.


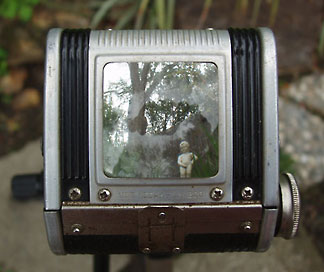
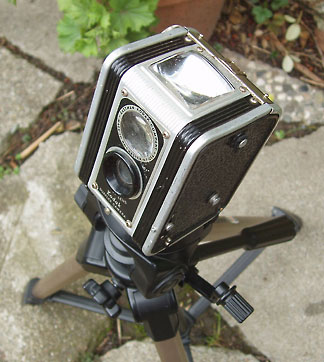
You take an old camera with a large viewfinder and focus your digital camera on the surface of the viewfinder. Some fiddling must be done to figure out the right distance. Russ Morris's tutorial and the discussion page of the flickr group through the viewfinder will be helpful. These photos of my Kodak Duaflex were taken with an Olympus C-60 Zoom.


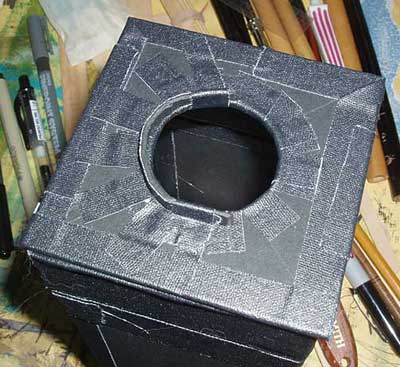
You can see there is a lot of reflection on the viewfinder. It's also hard to hold the camera in the right place. You need a "chimney."


You can make a simple chimney with a cereal box. My chimney is based on Russ Morris's instructions but not as well constructed. I added a guide for my digital camera on the top.


A little experimenting. Taken through our screen door.


Looking through the view finder, images are flipped horizontally. The world looks different and interesting photos seem to jump into place.

Added March 12, 2008: Here is another post with more information about my chimney.

I have more ttv photos on flickr.

Labels:

Wednesday, October 24, 2007

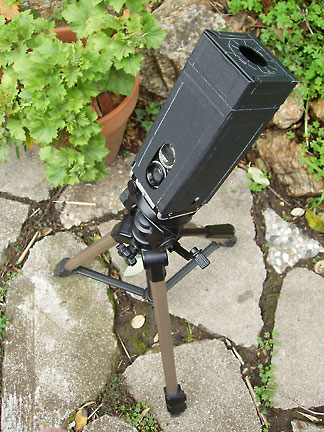
Kids Lab Pinhole Camera

I was browsing around Flickr the other day and came across magnifik 2.0's kidz lab pinhole camera set. I found this on the internet and it came today.


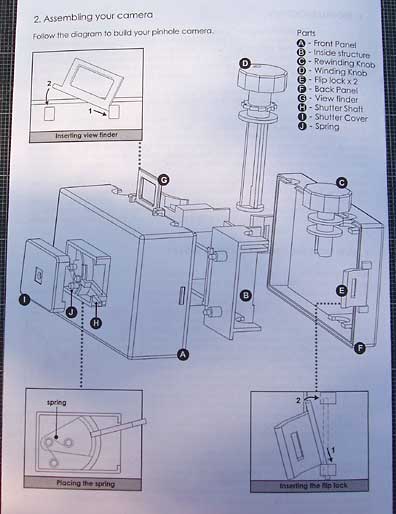
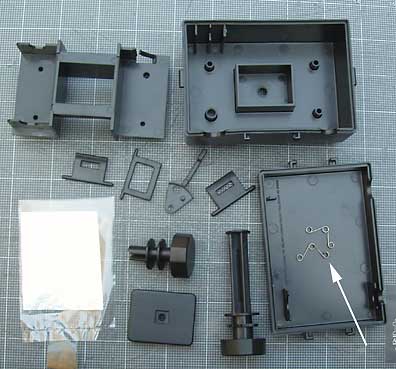
Here are the parts. The white arrow points to the little springs that work the shutter. They sent a spare. This was the hardest part to assemble. I found the spring a little flimsy. It didn't make the shutter snap up all the way, allowing light to leak in. In the photo the angle is less than 90 degrees. I bent it apart so it's a little more than 90 degrees. Now it snaps up nicely. The rest of the camera was pretty easy to snap together.


My biggest problem was with this drawing of the instructions. Everything else is verbal, which I usually hate, and the assembly instructions are visual. For some reason I found it a little hard to read. Maybe because I'm sick with a virus? I did get it all together, no parts left over. Because I had it around, I used a piece of brass shim with a .5 mm pinhole instead of the aluminum foil included in the box. According to this website, my 2 inch deep camera needs a .3 mm pinhole. (Scroll down to find the calculators button.) I will take my own good advice and go out and take a test roll with notes soon.

Labels:

Sunday, April 29, 2007

Happy WPP Day!


Memory Number 436, taken with my Memocam on Worldwide Pinhole Photography Day. Exposure: 6 minutes, you can see my setup here. Black and white photo paper used as film, scanned into the computer. The subjects are a combination of photos and toys. The paper film is 1.5 x 3.5 inches. The ends are cropped off a bit because the circle of the image is more like 3 inches wide. Larger version here.
Today is Worldwide Pinhole Photography Day. Anyone in the world can take a pinhole photo on the last Sunday in April and upload it to the WPPD website. In the gallery you can search on country, province or city to view photos taken every year since 2001. There is also a Flickr group here.
I love the idea of all these pinhole photos. They come together on the web and connect us with people all over the world. We're all the same aren't we? We all take photos of our families, our homes, our dreams and memories.

Labels:

Tuesday, October 10, 2006

Memocam


Memocam
Originally uploaded by bertmac.
It's done, just in the nick of time. I'll take this little gem to the Book Arts Jam with me this coming Saturday. There are some small problems, but I have ideas for the next one. And I can't wait to start.

On the base the instructions read: 1. Fix memory in your mind. 2. Point Memocam toward memory. 3. Expose film. Click on the image to see more info on my flickr page.

Labels: ,

Thursday, August 10, 2006

Photo Report

I have been struggling to get some decent pictures of some of my books. And I'm almost ready to eat my previous blog entry. It is hard, takes a lot of time, and reminds me how untechnical I am.


This was taken using the set-up shown in my flickr pages, with one change. I am hanging a black sheet in front to cast a shadow. Here is a pinhole photo of the set-up, from the camera's view point.

I took some photos a few days ago that I thought were really great, then I enlarged one on the computer and saw boulders of dust! Back to the drawing board. This probably could have been avoided. I have notes to myself in various places, but I often don't read them. I'm thinking a printout in the camera bag might help.

My current notes:
*Set the remote - it stays set until the camera is turned off.
*Check for dust - enlarge photo to 100%, dust shows like boulders.
*Check exposure - bracket even with the digital.
*I can sort of set up the shot and check it with the digital camera before taking the film shots, but the film camera needs some physical adjustment. It doesn't zoom like the digital and it is larger. So I can't just clamp the film camera into the exact spot the digital was in and snap the picture.
*Cloth hanging down casts a nice shadow.
*A piece of Davey board with string tied from corner to opposite corner, making it bow, makes a nice sweep for small scale.
*Maybe avoid black backgrounds - dust is invisible to the naked eye, but very apparent to the camera. Maybe the longer exposure needed for the black background makes the dust more apparent?


Here is my favorite photo so far.

Last night was the last meeting of my summer class at Cubberley. The students were great, and I will have some pictures of their books and maybe a few of the students working. I hope they came out, I had two camera batteries and they both ran out of charge quickly.

Last Sunday was the first meeting of a 15 hours class that I'm doing in my studio, so there will be photos from that class in a week or two.

I'll report back soon on the photo project.

Labels:

Sunday, July 30, 2006

Shoot!


This is Lorgnette for a Fish Goddess, ©1997. The materials are silver, brass, sea shells and kelp.

I have been taking a bunch of photos this week. I need some nice ones for the slide show at the Book Arts Jam. Plus I would like to get some more images on my web site. And there is a publication I'm thinking of sending an application to. There are lots of "buts" in there, that you can't see in print. What are they? Well, I do have some photos I could send to the Jam. But I am not totally happy with them. I would love to have more images on my web site, but it's a low priority at this moment. (Although I do have a new gallery planned.) And the publication? It's Lark books, and they "strongly prefer film." I do understand that digital has much less information than film. But it's so hard to get a good shot with film. So today I have been taking digital photos. I'm happy with a few of them. (about 10 out of 100.)

And why don't I "just" get a professional to do the photos? I didn't like the results when I tried several professionals. And the expense for just a few images seems incredibly high to me. I went to the last BABA Sunday meeting on photography and people there seemed to agree, you have to take each book as a different case. People there were suggesting experimenting with each book. And why should I pay someone to do that? Or why should I pay someone to do a bad job. I can do an okay job myself, and I will probably be happier with how the book is presented. I am just not that good at the lighting. I keep trying to get better, and I think I am improving. I definitely understand more now than a few years ago. It's possible I will be rejected from Lark books, for not having slides, for not having good lighting, for not sending whatever the juror likes. But I'll have a bunch of images to put on my web site.
Here's a flickr set with photos of my last set-up. There are comments on the photos, and they will enlarge. (To enlarge: when you're on the main photo page, with "bertmac's photos" at the top, click on the photo. Then click on "all sizes" at the top of the image.)

I did get some good ideas at the BABA meeting:
1. Dark backgrounds can work with enough light on the book/object.
2. Use the digital camera to get all set-up before taking the final shots on film.
3. You can now buy daylight bulbs and daylight film for slides.
4. Take some shots from the back - they may be very interesting and useful.
5. Their rolls of paper were controlled by a chain. I think they have some tension on them, so you can adjust the curve of the paper. This may be the problem with the photo above. The curve might be too sharp instead of gradual.

I also got a lot of good ideas for my set-up here. This is a web site for jewelers, but the photo information is useful, and easy to scale up to larger objects. One thing suggested at ganoksin is using mirrors to reflect light onto your object. This works great for metals, but I'm not sure how it will translate into paper. I need to try that this week.

Now it's time to take photos!

Labels:

Sunday, July 23, 2006

It's hot, hot, hot!

It's been much hotter than usual here all week. Because we don't have air conditioning, I have been putting off all kinds of things. I wanted to take some photos this week, but the big lights I use are way too hot.

Instead I have been working on my website. I added three older books. They are all in gallery 3 on my web site. Here are direct links:

Duck Dreams

Celestial Navigator

We can see by starlight


I also made a matchbox pinhole camera. Isn't it cute?

I starting taking some notes for the demo at the Book Arts Jam, on October 14th. My goal is to have the demo ready soon, and to put it on my web site as a tutorial. I would also like to get to work on my fern book, which will make use of all these pinhole photos.

Until next time, keep cool!

Labels: ,

Friday, July 07, 2006

The Hole Story II

Some images from the minty cam:


Both these photos are taken with the minty cam. I like the mysterious, atmospheric effect and the vignetting. The pinhole is .1 mm wide. The exposures were for 4 seconds (as I count) in the shade. I think I might need slightly longer exposures in the shade. Mixed sun and shade seems problematic, with strong white in the sun looking overexposed, and the shade looking underexposed.


Now that I have sort of a sense of what works and what doesn't, I need to figure out how to use these in collage. I think there is plenty of potential. I already know I need some good photos of plants for my fern book.

Plus this has been a really fun week. I did lots of pinhole photography, had fun with my son and enjoyed the time away from the stuff I usually have to do. I had help with the cooking (thank you Jim) and didn't really need to accomplish anything. Time went by way too fast and I'm sad that tomorrow is the last day of the vacation.

Labels:

Thursday, July 06, 2006

The Hole Story


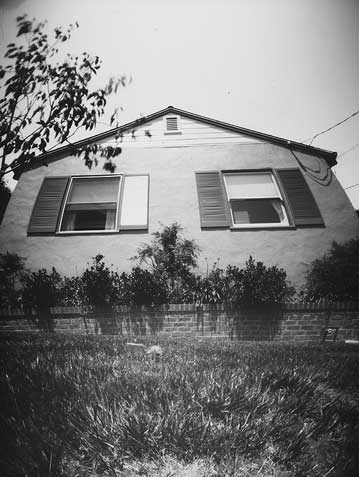
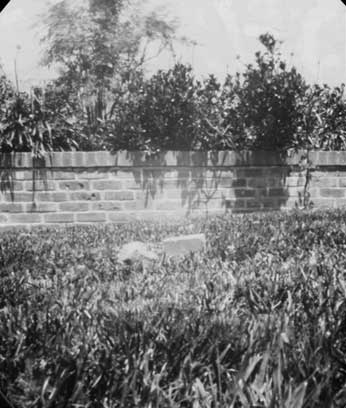
One of my first pinhole images. I took this around 11 am, in full sun, for about 50 seconds, with my oatmeal cam.

I also made a couple of cameras this week.

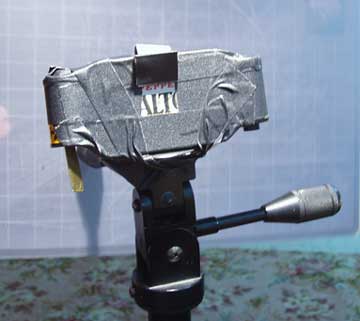
Here is my minty fresh camera.
This is an Altoids tin with a pinhole mounted in the front. I cut a slit on either end, folded down the rough edges the best I could, and taped over the rough edges with gaffer's tape. Then the roll of film is attached to one side, film is pulled through and attached to an empty spool. The camera has to be mummified in tape to block all possible light leeks. The winding mechanism is a piece of brass jammed into the end of the cartridge. You can see it on the lower left part of the camera. The link has a better description of how to make the camera. I took a roll of film on the 4th, trying to capture some fireworks. It was a total failure. Yesterday I took a roll in our yard, which I will take to have developed tomorrow.


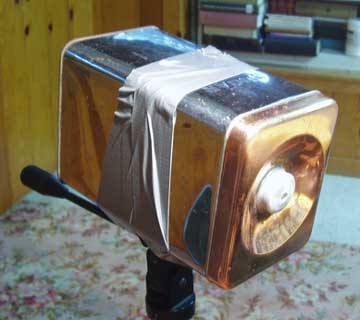
And here is the sugarcam (made from an old sugar cannister). The pinhole is in the handle of the lid. The lid fell off the first time I used it, so now I'm taping it with some electrical tape. I am also taping these cameras to my tripod, or setting them on the ground.


This image of the front of our house was taken with the sugarcam at the same time, and from the same spot, as the pinhole image above. You can see I have to trim the corners a bit to make the paper fit into the sugarcam.

One of my invisible readers pointed out that I should have included links for Freestyle in my last post. And the address for Kaufmann's is 154 W. 25th Ave, San Mateo, California.

I have some pinhole related links on del.icio.us.

And check out my son's flickr photos. He took some really good pinhole images.

Labels: